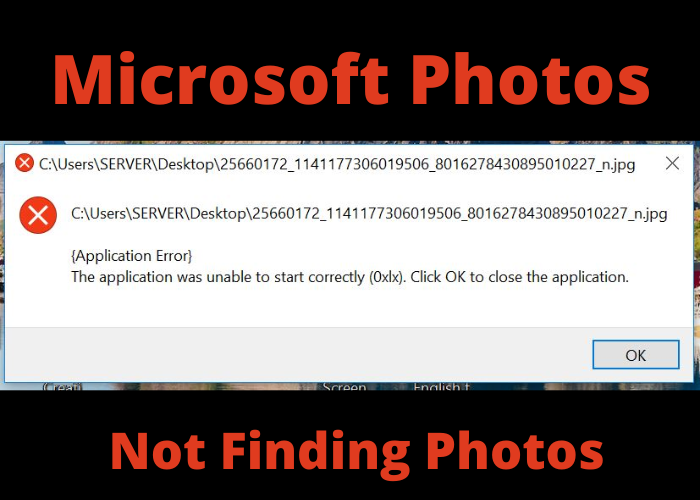
Windows users have been struggling to find their photos since the Photos app was updated. After doing some digging, it turns out that the problem is Microsoft’s new search algorithm. The new search is designed to be more accurate, but it’s not working very well for people who have a lot of photos. Hopefully Microsoft will fix this soon! In the meantime, here are some workarounds.
Check the Location of Your Photos
Have you ever wondered where all your photos are stored on your computer? If you’re like most people, you probably have a folder on your hard drive that is designated for storing pictures. However, what you may not realize is that this is not the only location where your photos are stored. Every time you view a photo in the Microsoft Photos application, a copy of the file is created and stored in a hidden location on your hard drive. This allows the application to quickly load thumbnails of your photos when you view them in the app. However, it can also lead to confusion when you try to find a specific photo file. If you’re having trouble finding a photo, one place to check is the Microsoft Photos cache. This folder is typically hidden, so you may need to enable hidden files and folders to view it. But it’s worth taking a look, as this is often where photos are stored when they can’t be found in their original location.
Make Sure You’re Using the Latest Version of Microsoft Photos
Microsoft Photos is a great way to organize and view your photos. The application offers a variety of features that can help you keep your photos safe and organized. However, it’s important to make sure that you’re using the latest version of Microsoft Photos. The latest version of the application includes a number of bug fixes and security enhancements that can help keep your photos safe. In addition, the latest version of Microsoft Photos includes new features that can help you make the most of your photos. If you’re not using the latest version of Microsoft Photos, make sure to download and install the update today. You can use the best photo editor to edit your photos.
Try a Different Search Term
Microsoft Photos is a great way to keep your photos organized and accessible. However, you may occasionally have trouble finding a photo that you know is in the software. If this happens, try using a different search term. For example, if you’re looking for a photo of a particular person, try searching for the person’s name instead of “photo.” If you’re looking for a photo from a specific event, try searching for the event’s name or location. By using different search terms, you’ll increase your chances of finding the photo you’re looking for. And if all else fails, you can always ask Microsoft’s support team for help.
Add Keywords to Your Photo Files
As any photographer knows, a good photo is all about composition, lighting, and timing. But even the best photos can be difficult to find later if they’re not properly labeled. That’s why it’s important to add keywords to your photo files. Keywords are like tags that help you organize and search for your photos later. For example, you might add the keyword “beach” to all of the photos from your trip to the shore. That way, you can easily find all of your beach photos by searching for that keyword. Adding keywords may seem like an extra step at first, but it can save you a lot of time in the long run. So next time you take some great photos, be sure to label them with keywords.
Check for Errors in Your Photo File Names
As anyone who has ever lost a file knows, it is important to have descriptive file names that will help you locate the file later. This is especially true for photos, which can be difficult to organize and search through. Fortunately, there are a few steps you can take to make sure your photo file names are as informative as possible. First, check for errors. Make sure the file name accurately reflects the content of the photo. Secondly, use keywords that will help you remember what is in the photo. For example, if the photo is of a sunset, you might use the keywords “sunset” and “beach.” Finally, use a consistent naming system for all of your photos. This will make it easier to find and organize them later on. By taking these steps, you can be sure that your photo file names are as informative as possible.
Use a Different File Manager
One area where Microsoft Windows 10 falls short is in its default file manager, File Explorer. While it has improved over the years, it is still lacking in many ways. One issue is that it can be difficult to find your photos. If you store your photos in the default “Pictures” folder, then they should show up in the “Pictures” library. However, if you have them stored in a different location, such as on an external hard drive, then they may not appear in the library. To view them, you need to go to the “Recently Added” section or use the search function. Another issue is that File Explorer can be slow and sluggish, especially when opening large folders or copying files. This can be frustrating when you’re trying to get work done. Fortunately, there are a number of alternatives to File Explorer that are fast and efficient. Some of these include paid programs like CyberDuck and Total Commander, as well as free options like FreeCommander and MuCommander. If you’re tired of dealing with the shortcomings of File Explorer, then give one of these alternatives a try. You might be surprised at how much better they are.


Comments